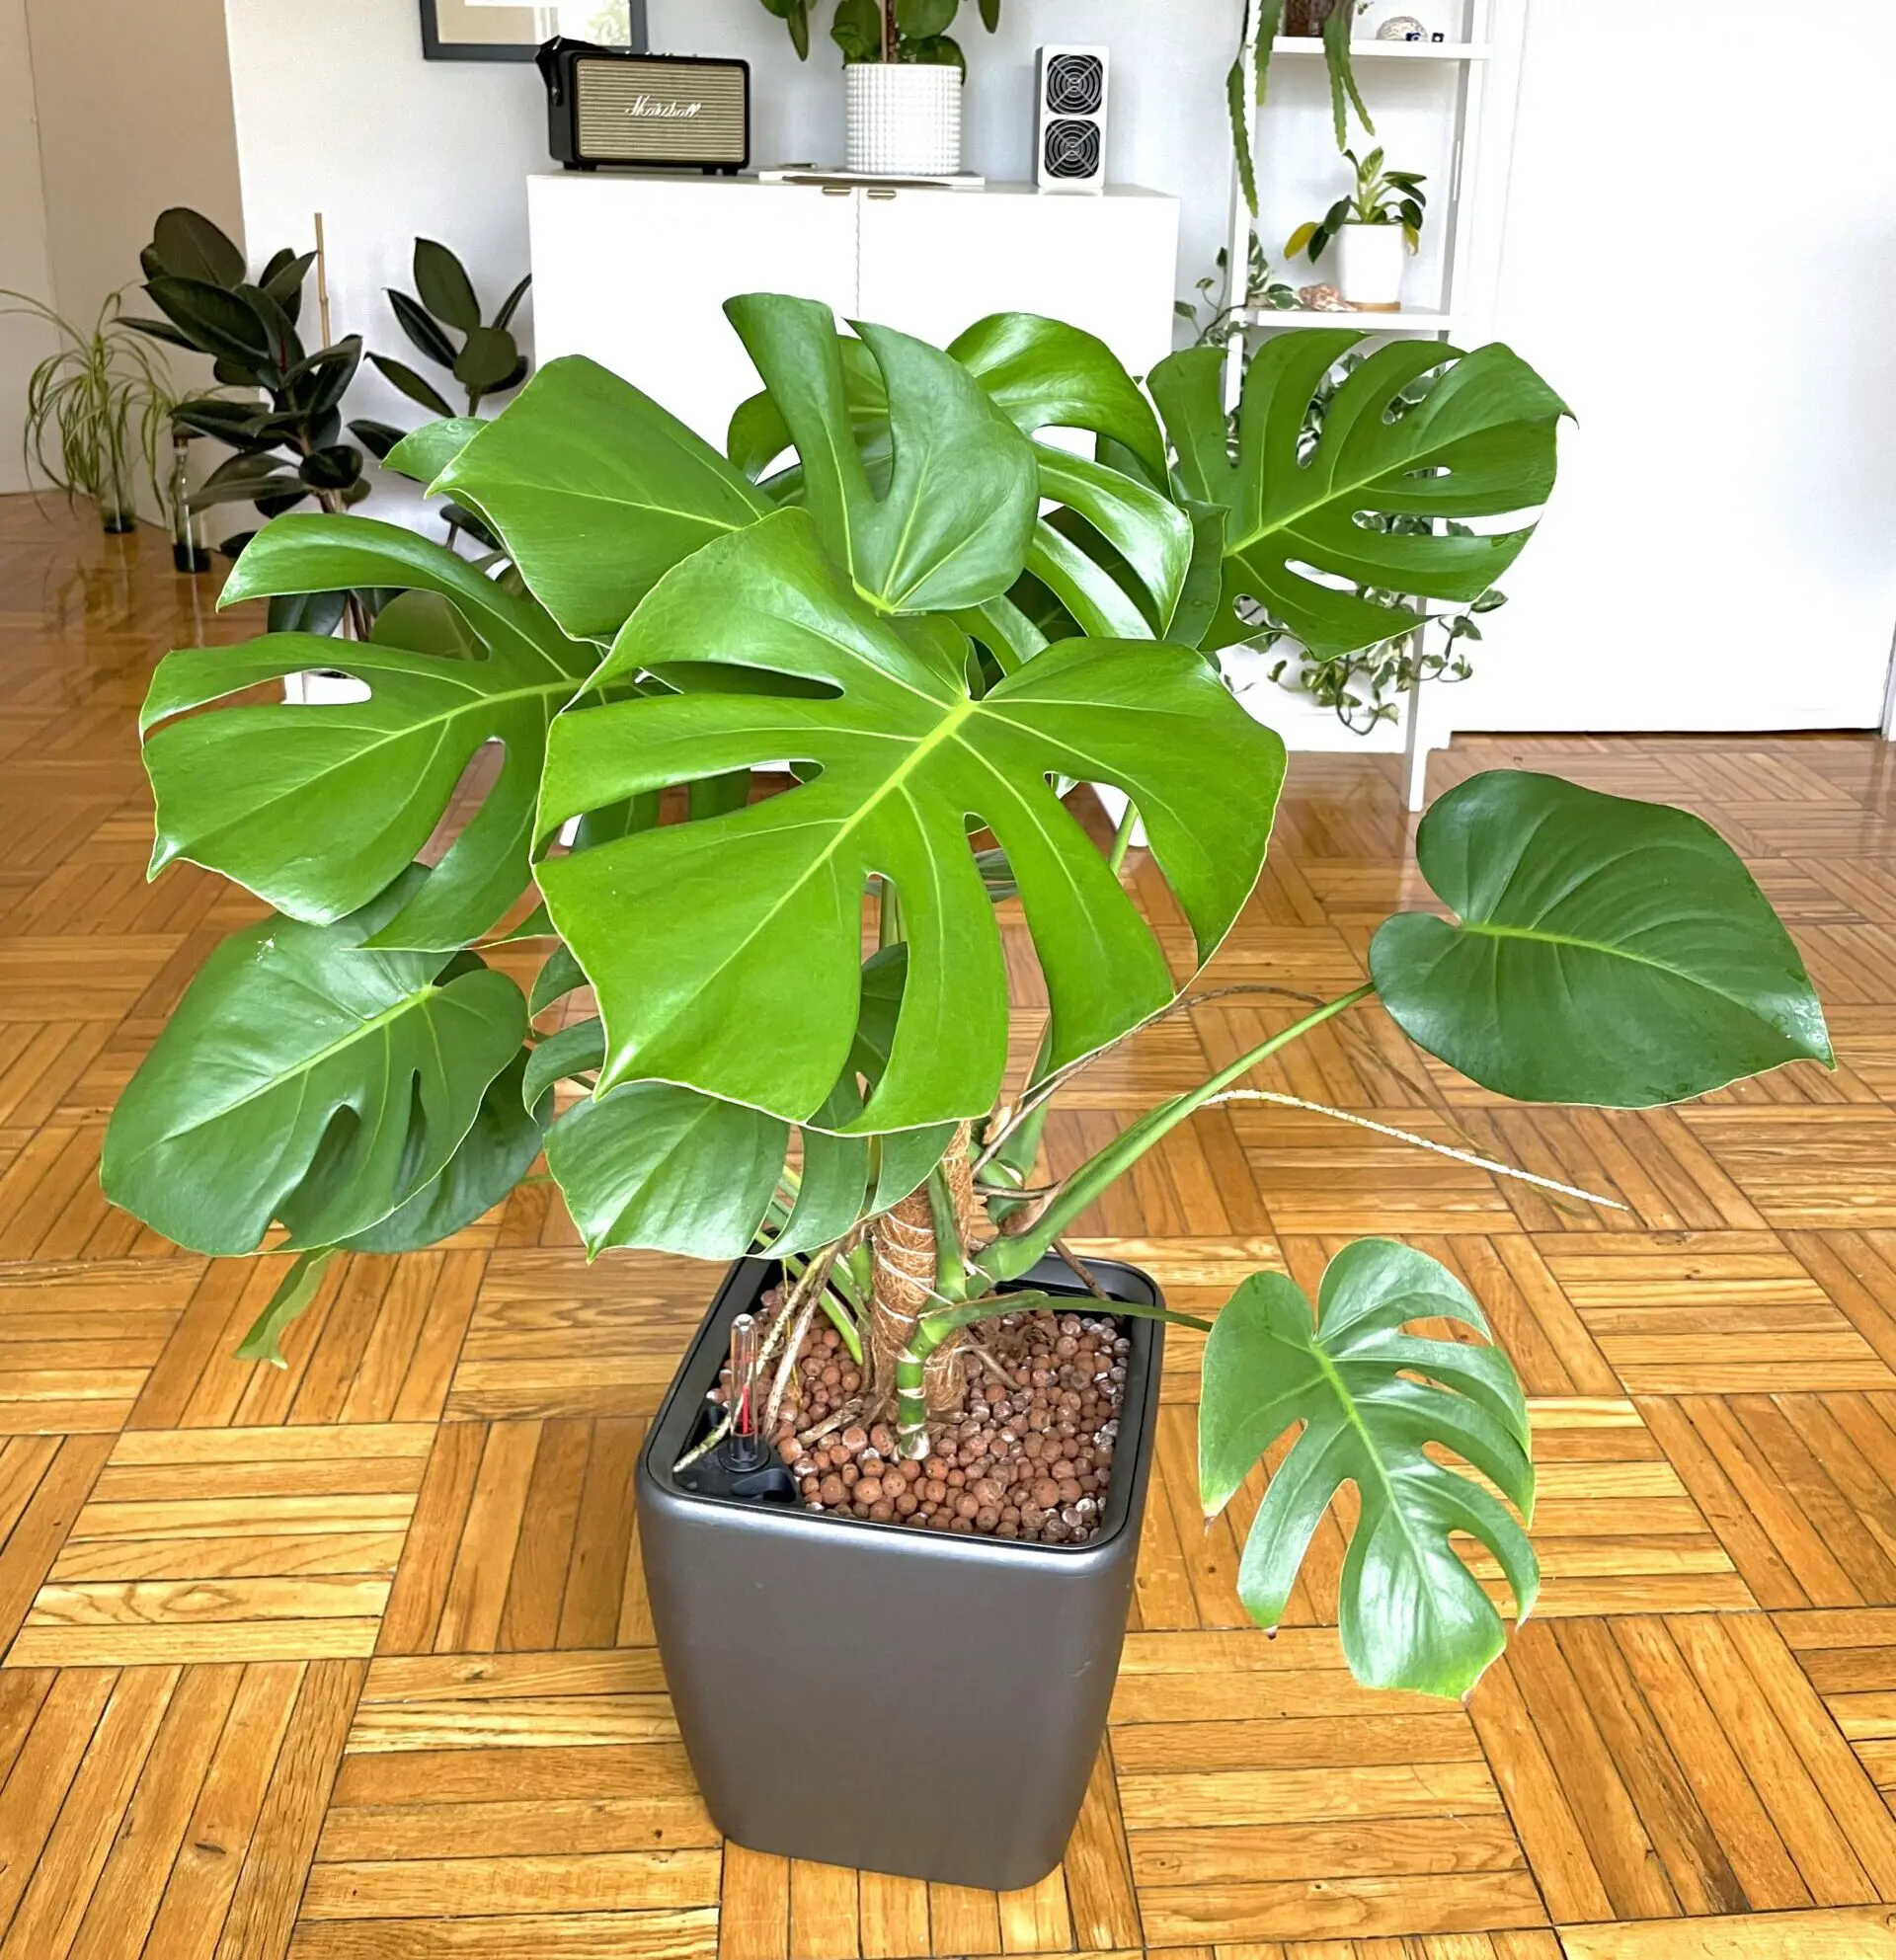
Monstera Deliciosa, commonly known as the Swiss cheese plant or split-leaf philodendron, is a climbing, vining, evergreen from the rainforests of Mexico and Central America. Loved for its captivating foliage featuring large, perforated leaves, this evergreen climber has become a beloved choice for indoor plant enthusiasts.
In this guide, we’ll delve into the benefits of growing Monstera in Leca (Lightweight Expanded Clay Aggregate) and provide an in-depth, step-by-step guide on transitioning your plant from traditional soil to this innovative hydroponic medium.
About Monstera Deliciosa
Botanical Name: Monstera Deliciosa
Common Names: Swiss Cheese Plant, Split-leaf Philodendron, Hurricane Plant
Family: Araceae
Origin: Mexico, Central America
Why Opt for Leca in Monstera Cultivation?
Growing your Monstera in leca can be a great way to avoid any issues from under or overwatering. As well as taking care of watering issues, growing your Monstera in leca gives their roots excellent aeration to grow strong and healthy.
By amending the water added to your plant with a hydroponic growing fertilizer you can ensure that your Monstera gets the optimal amount of nutrients it requires. Providing the perfect nutrition mix to the well-aerated roots will result in a robust, healthy plant.
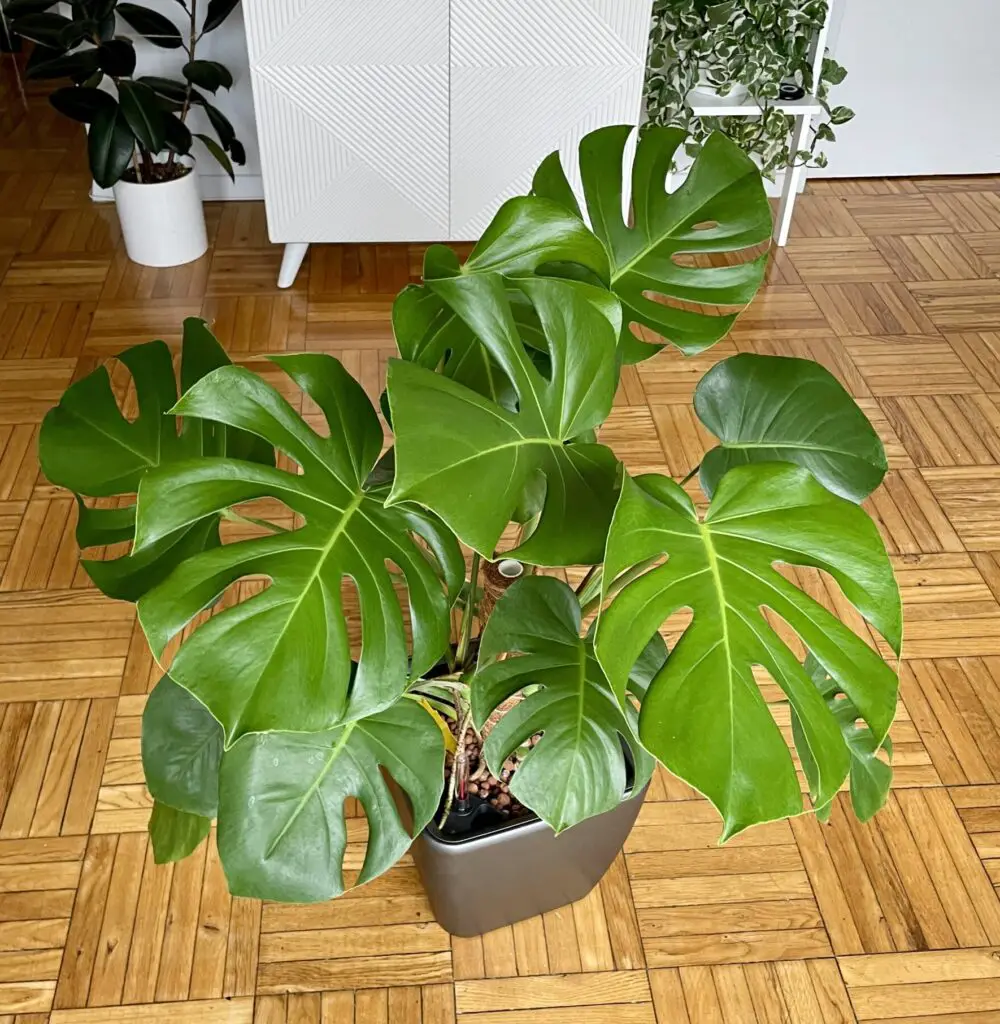
In addition to providing excellent aeration, leca also gives you the freedom to leave your plants unattended for extended periods if the right container is used. For example, when you go on vacation it is perfectly reasonable to leave a plant in leca unattended for three weeks provided it is in a pot with an ample water reservoir.
The Transition Process: Step-by-Step Guide
1. Remove Monstera from the Pot
Begin the transition process by removing your Monstera from its existing pot.
Using a gentle tapping motion on the sides and bottom of the pot can help loosen the soil, making it easier to lift the plant without causing harm to the roots.
This step allows you to inspect the health of the roots and assess the amount of soil that needs removal.
2. Clean Soil from Roots
To ensure a smooth transition, clean all the soil off the roots. You can use a gentle water stream or submerge the roots in lukewarm water to assist in soil removal without causing stress to the plant. Ensure as much of the soil as possible is removed from the roots.
Wet soil left in the leca makes the perfect environment for root rot, so take your time with this step.
3. Prepare Pots
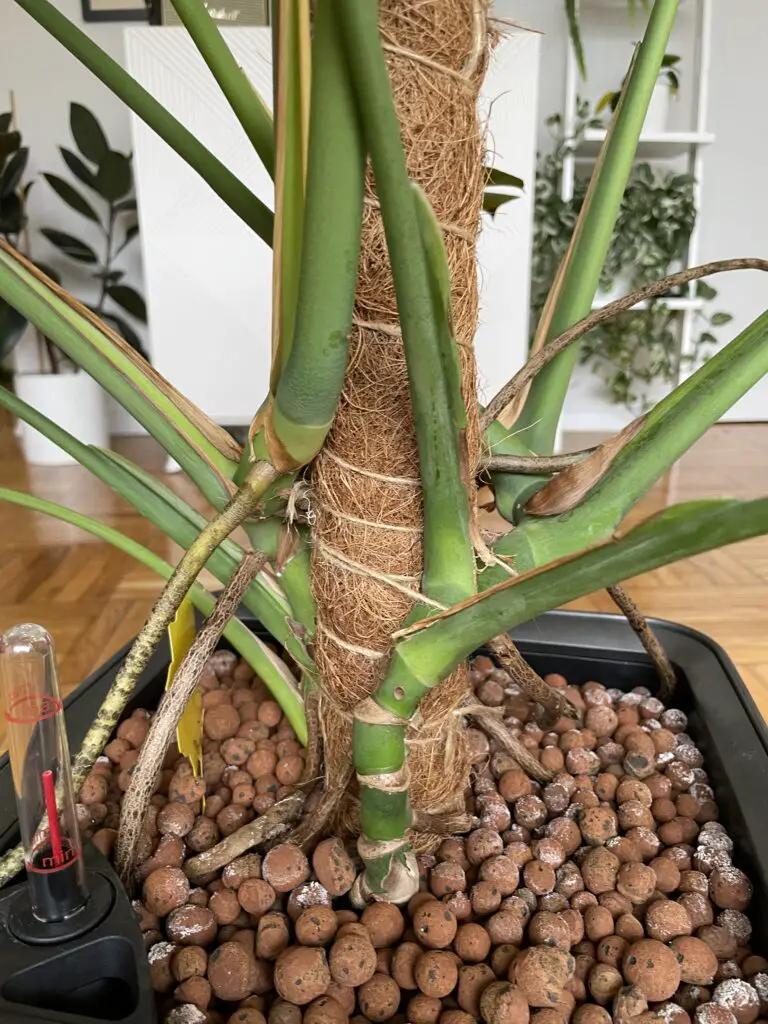
It is important to choose a container that is suitable for hydroponic growing. The only real danger with using leca instead of a traditional substrate is keeping the water level too high. If the roots of your plant are completely submerged in water they will be starved of oxygen.
The easiest way to avoid this is to choose a self-watering pot with a reservoir and water gauge. Alternatively, you can use a growing pot with drainage holes and a slightly larger cover pot without drainage holes.
A clean environment is essential for successful plant cultivation. Before introducing your Monstera to Leca, ensure the pots are cleaned to reduce the risk of pests and diseases.
You can use a mixture of mild soap and water for cleaning pots, followed by a thorough rinse. This helps eliminate any residual contaminants.
4. Clean Leca
Before planting your Monatera in Leca, it’s important to give the clay balls a good rinse to get rid of any lingering dust. If you’ve got pre-washed Leca on hand, feel free to skip ahead.
However, if the Leca is new and untouched, it’s likely covered in dust and needs to be washed. To do this grab a bucket and gather enough clay balls to fill your chosen pot almost to the top.
Using the pot and the bucket, first, fill the pot with water and move the leca around with your hands to loosen up any dirt and dust. Then transfer the leca to the bucket, leaving behind the dirty water. Dump the dirty water and repeat this process until the remaining water is almost clear. It may take a few cycles but it’s worth the time.
5. Create a Base Layer of Leca in the Pot
Establishing a protective base layer of Leca in the nursery pot is crucial for preventing root rot. This layer ensures that the roots are not constantly submerged in water, mitigating the risk of overwatering. Add at least one inch of leca to the bottom of the pot, for larger pots it can be a bit more.
If you have it on hand you can add a thin layer of activated charcoal at the bottom of the pot before placing the Leca. This can aid in absorbing impurities and promoting a healthier root environment.
6. Plant Monstera in Leca
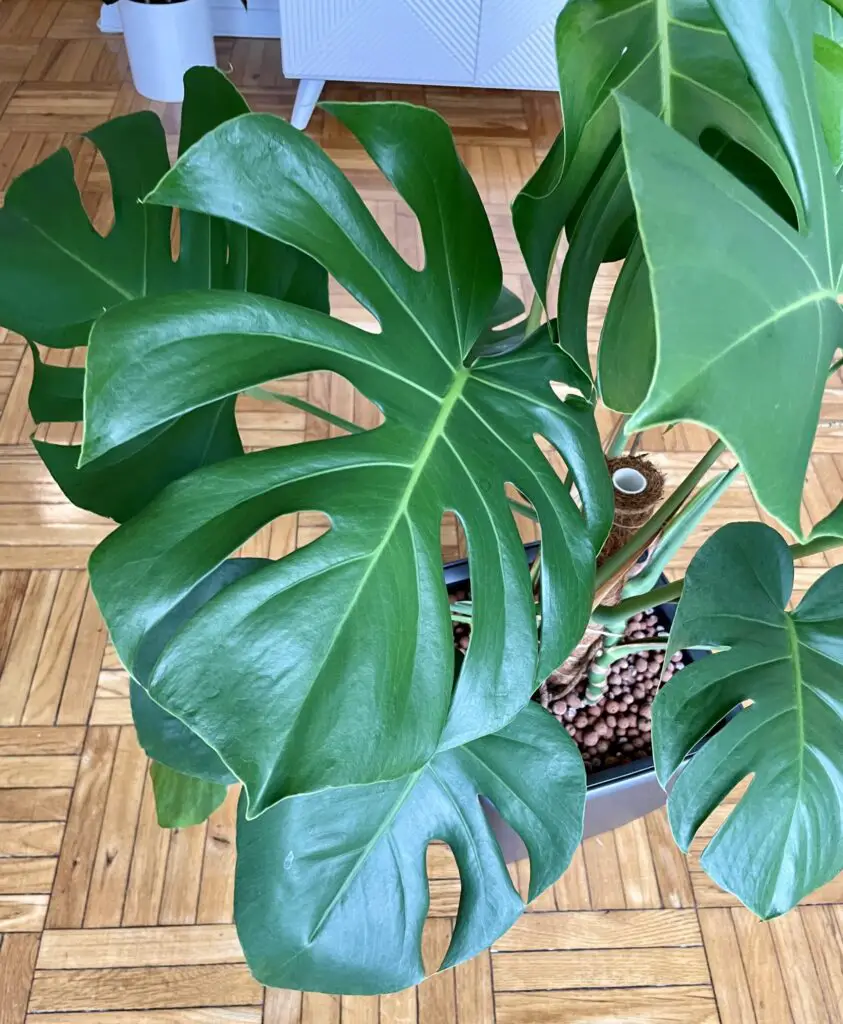
Carefully position your Monstera in the nursery pot, ensuring that the roots are adequately covered by Leca. Adjust the plant as needed, trying to maintain its desired position.
For added stability, consider securing the plant with bamboo stakes or a moss pole, especially if it tends to sprawl or if you desire a particular growth pattern.
7. Water Monstera in Leca with Hydroponic Fertilizer
The final and crucial step involves watering your Monstera in Leca. Incorporate hydroponic fertilizer into the water to provide essential nutrients. Avoid adding water beyond the base layer to prevent the plant from sitting in water.
Experiment with different hydroponic fertilizer formulations to find the one that best suits your Monstera’s nutritional needs. Consider how much sun your plant gets and how much temperature stress it experiences. If the plant is in an optimal growing environment it can absorb more nutrients from the fertilizer. If it is in a shadier location or the temperatures are very low or high you may want to add less fertilizer.
Post-Conversion Maintenance: Ensuring Long-Term Health
The transition process is just the beginning. Continuous care is essential to ensure the long-term health of your Monstera in Leca.
Regular Root Checks:
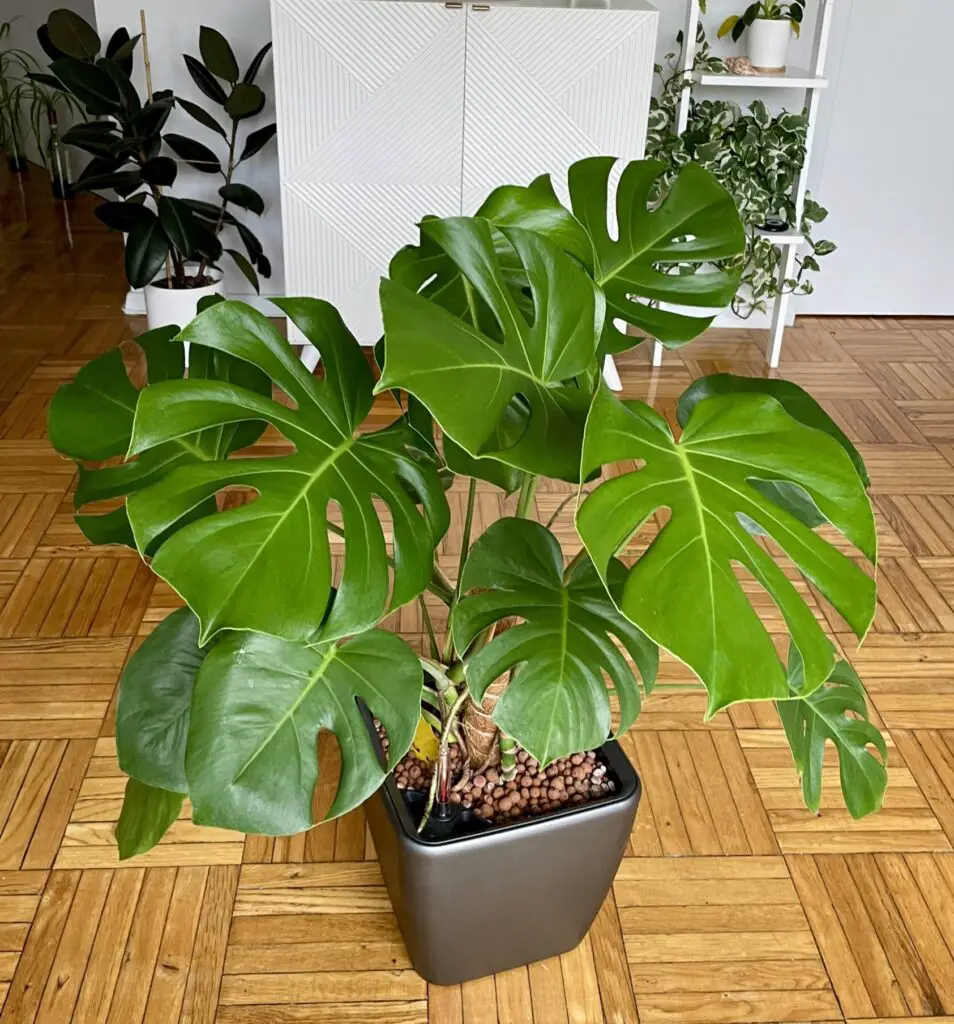
As part of acclimating your Monstera periodically inspect the roots. This can be done by pulling your Monstera out of the Leca, cleaning the roots, and refreshing the Leca.
Initial checks may need to be performed 2-3 times during the first few months to ensure a soil-free root system. If you notice any root rot, trim it off and make sure no rotting roots are left in the leca.
Fine-Tuning Watering Frequency:
Monitor the moisture levels in the Leca and adjust your watering frequency accordingly. Leca allows for better visibility of the roots and water level. Ideally, there is always some water at the base layer of leca, but try to keep the water level low enough to allow at least ¾ of the root system to be above the waterline.
Conclusion: A Flourishing Monstera Journey
In this comprehensive guide, we’ve not only explored the step-by-step process of transitioning your Monstera from soil to Leca but also integrated valuable insights on best care practices. By understanding the best way to transition your plant from soil to leca you’re well-equipped to grow a flourishing and resilient Monstera. Happy planting!
